Getting Started
Welcome to the written documentation for HoloEdit, HoloSuite’s procedural, non-destructive editor for processing volumetric video. This document is a complete reference guide to the features and functionality of HoloEdit 2022.2.
About this Document
This document is divided into the following sections:
Workspaces: Workspaces are folders on your local machine where HoloEdit stores data.
Compositions: Introduces Compositions, where volumetric video is edited inside of HoloEdit, and the kinds of data that they are made up of.
User Interface: Reference for the various windows and panels in HoloEdit and their functions, including details of working with Compositions.
Clips and Import: Importing source data into HoloEdit as “Clips”.
Processing & Jobs: Details on cloud and local processing.
Stages: Details on each processing tool, called ‘stages’, in HoloEdit.
Exporting Data from HoloEdit: Export workflows and output formats.
Menu Bar: Reference for tools in the Menu bar.
Support and Help: Technical information and product support.
External Plugins: Reference for free HoloSuite plugins provided for external software.
OMS Playback: Reference for volumetric video playback in external software.
Release Notes: Current and previous update release notes.
Continue reading below to get started with installation, sign-in and set-up.
Installing HoloSuite
The latest HoloSuite installer EXE will be provided to you with your account and license information via email. Below we will cover how to install HoloSuite.
Installation Steps
Please be sure to check our support page to ensure your device meets the recommended hardware and software requirements for HoloSuite.
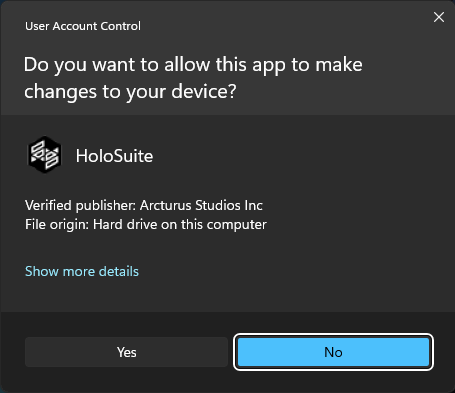
Double-click the HoloSuite2022.2.exe. Depending on your PC settings, you may receive a UAC window. Click ‘Yes’ to continue.
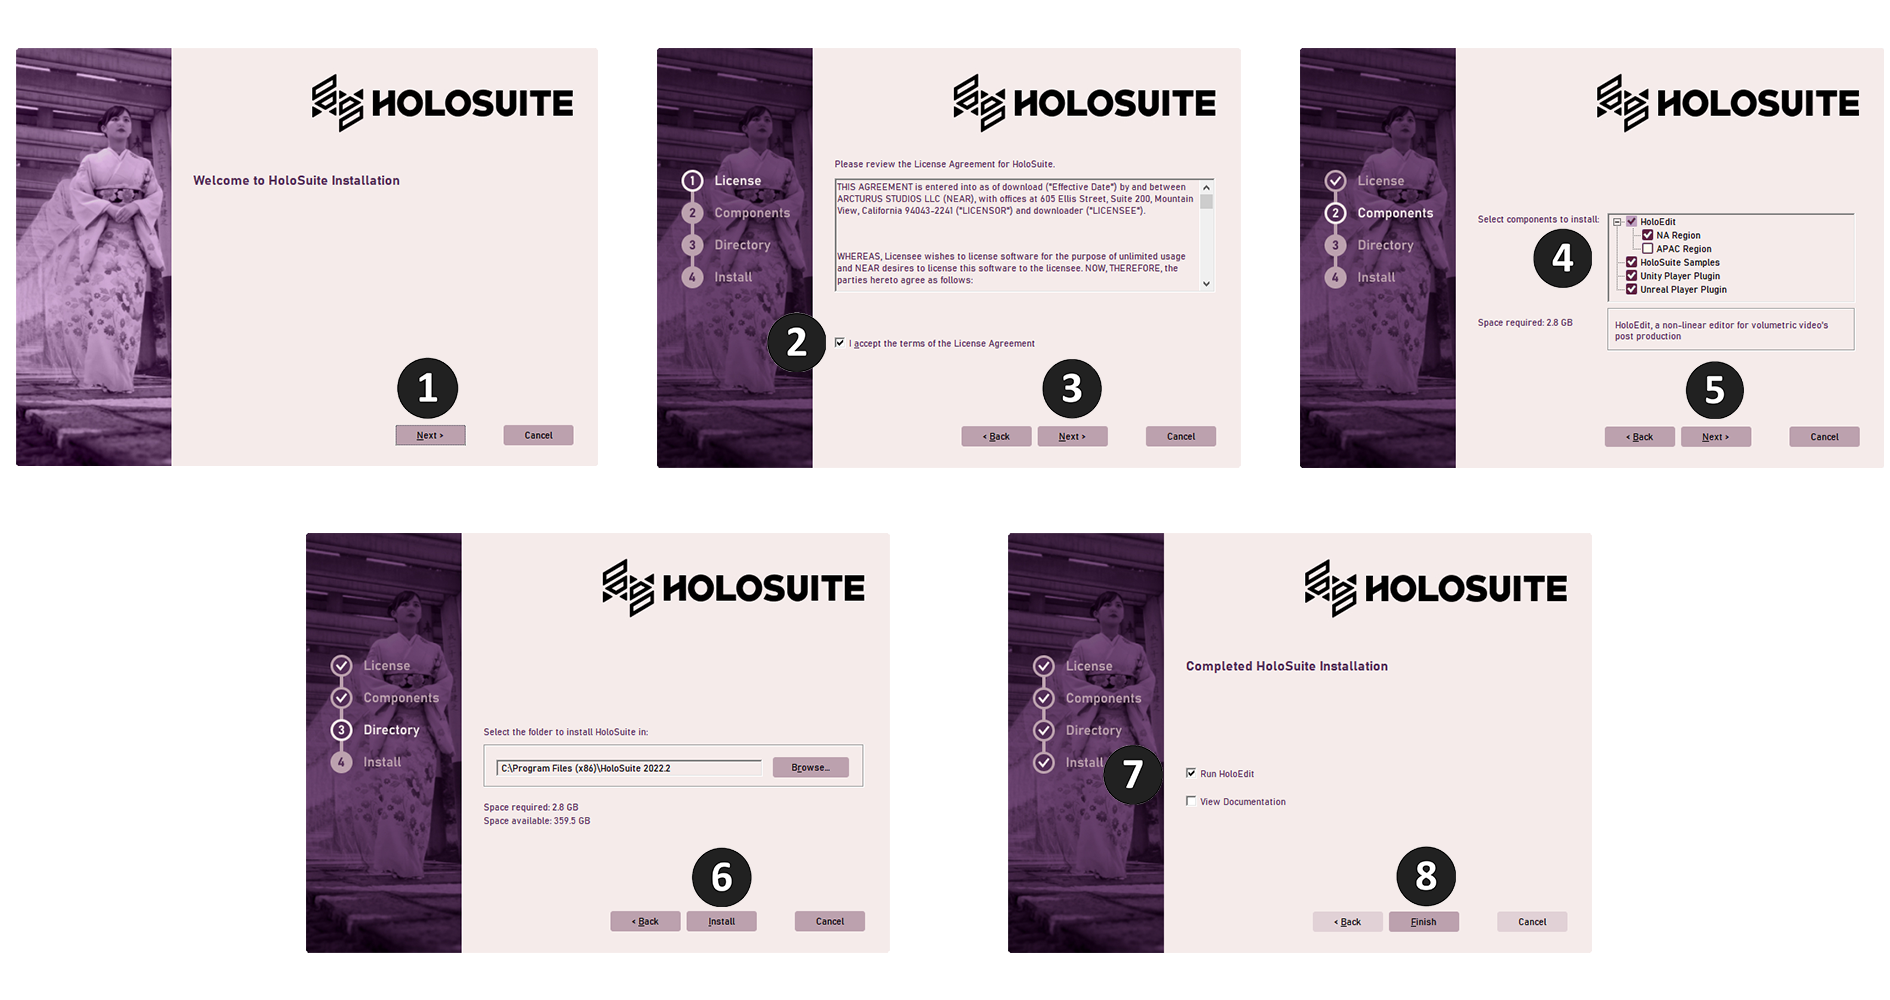
The HoloSuite installer window will open. Click ‘Next’.
Read our EULA, and check the box to accept the terms of the agreement.
Click ‘Next’.
The next screen will display several options for your HoloSuite installation. Select the HoloEdit region that applies to your location. Choose if you would like to include our HoloSuite Unity or Unreal Player plugins, or sample data sets in HoloSuite Samples. These samples and plugins can be found in your HoloSuite Start Menu entry, or the Samples and Plugins folders located in your HoloSuite install directory if you selected them during installation.
Click ‘Next’.
HoloSuite will install to your Program Files (x86) folder by default. If you’d like to change this, browse to your desired directory. Click ‘Install’.
Check either of the boxes to run HoloEdit, or the Readme.
Click ‘Finish’ to complete your HoloSuite installation.
What’s included in the Plugins folder?
Mari Plugin: Our HoloEdit Mari Tools includes scripts for importing, exporting, and painting for facilitating use of volumetric content in Mari. See our documentation here for more information.
Maya Plugin: The HoloSuite Maya Shelf for use with Autodesk Maya 2020. See our documentation here for more information.
Unity Player: This Unity package contains our HoloSuite player for Unity. See our documentation here for more information.
Unreal Player: Our Unreal Engine HoloSuite plugins for Unreal 4.27, 5.0, and 5.1. See our documentation here for more information.
What’s included in the Samples folder?
Ewan Volumetric: (2.07GB) A short clip of Ewan describing the benefits of volumetric video. This sample includes OBJ mesh and PNG texture files.
Cory Dance: (5.87GB) A longer clip of Cory doing high action choreography. The sample includes OBJ mesh and PNG texture files.
Audio: Audio for the Ewan Volumetric clip.
HoloSuite Player Unreal Demo: (2.97GB when unzipped) A HoloSuite Player for Unreal demo project, including Cory and Ewan clips.
What’s included in the Tools folder?
MeshCaptureTool: The Mesh Capture Tool is a Unity project which includes a Unity scene to capture mesh and texture data so it may be properly ingested by HoloEdit, as well as tools for subtracting undesired geometry from portions of a clip. See our documentation here for more information.
DeleteWorkspaceDir.bat: This .bat file allows you to clear the workspace HoloEdit will open on start. This is a useful troubleshooting tool for workspace issues.
Once installation is complete, you can get started with HoloSuite! Below are some resources for understanding HoloEdit:
HoloEdit Welcome Screen
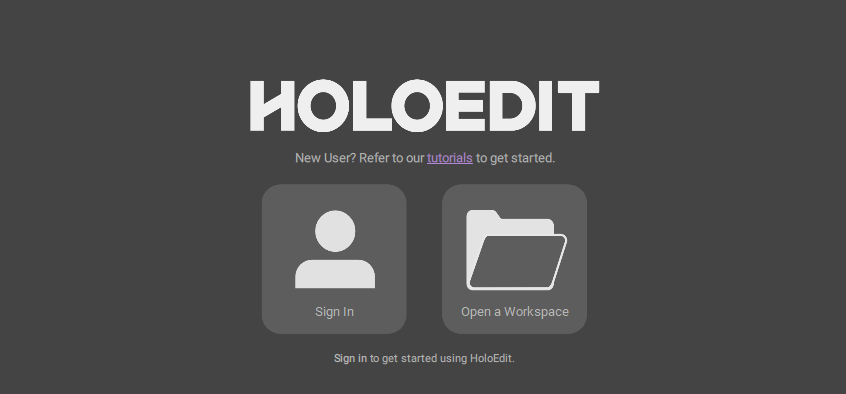
After launching HoloEdit for the first time, or any time after closing a workspace, you will see the HoloEdit Welcome screen.
The welcome screen contains a Manage Profile/Sign In button, an Open Workspace button, and a small text link to helpful training material.
Sign In
To get started with HoloEdit, first press the Sign In button. (If you are already signed in, this button will be replaced with the ‘Manage Profile’ button.)
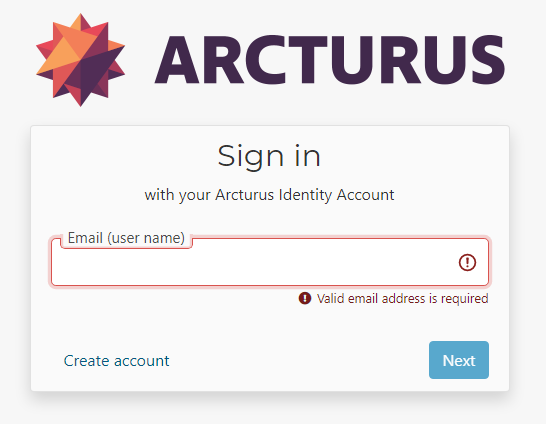
The Sign in button launches a modal window to authorize your account. Follow the prompts on this window to finish signing in, and then return to HoloEdit.
To further manage your profile, visit https://license.arcturus.studio/user/profile
Open A Workspace
After signing in or configuring your account, the Open a Workspace button can be used to launch the ‘Select a Workspace’ file browser and open a workspace.
License And Account

HoloEdit requires a HoloEdit License to access the Job Server and process Stages.
While signed in to an account with a valid license, you may acquire or release your license using the “Acquire” or “Release” button to the right of the License Type text in the User Profile Window. Access the User Profile window from User -> Manage Profile on the Menu Bar, or by pressing the Manage Account button in the HoloEdit Welcome Screen.