Unreal: Image Sequence Driven Playback Configuration Example
Image Sequence Playback in unreal plays your OMS clip with a series of .png textures, rather than a compressed .mp4 file. This provides higher quality at the cost of a very large storage footprint.
Frame encoding is required for all OMS playback in Unreal Engine. Begin by preparing your OMS and texture stream.
Export your mesh from HoloEdit using the OMS Output sequence File type, and export your textures from HoloEdit using the MP4 Output Sequence File type with Encode Frame Numbers enabled.
Mp4 export is required to encode frame numbers. You can adjust your mp4 settings for the highest bitrate and minimal compression to improve the final quality.
Once the .mp4 has completed you can use FFmpeg to generate an image sequence.
Generating an Image Sequence with FFmpeg
Begin by opening a command line window next to ffmpeg.exe.
Use the following command to generate the image sequence replacing ‘.\video’ with the path to your of your .mp4 and `.\frame%04d.png’ to the output path of your choosing.
ffmpeg -i .\video.mp4 -vf "fps=24" -start_number 0 .\frame%04d.png
Exporting to .frame%04d.png produces a file sequence named frame0001,frame0002, and so on, in the current directory.
Unreal: Legacy HoloSuite Configuration for HoloSuite 2021.2
Using image sequence driven playback in Unreal engine requires manual setup of the HoloSuite player.
This legacy path is required for image sequence playback. For regular playback with an .mp4 file, refer to the OMS Player Configuration example.
OMS Player Configuration Example
After installing the HoloSuite Player Plugin 2021.2 for Unreal you can create a HoloSuite Player to use in your project.
Next, add your OMS file(s) to the Content folder.
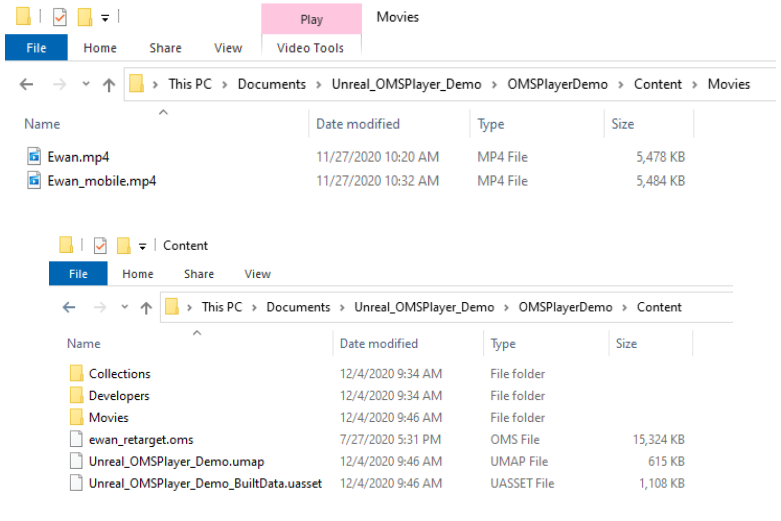
OMS Player Content in Windows Explorer
The operations for the legacy method of setting up a HoloSuite Player in Unreal requires multiple actors, blueprints, and objects, so you will want to keep these contained. We recommend creating a new folder for each OMS Player in your project. There are several components required to set up OMS Playback in UE4.
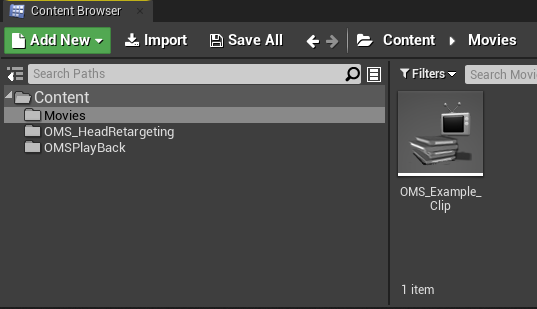
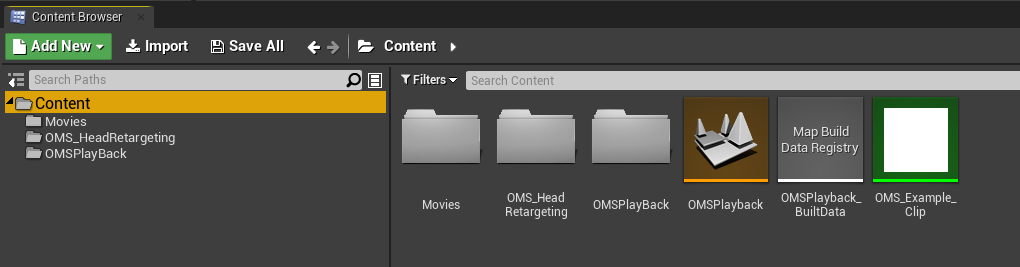
OMS Player Content in the Content Browser
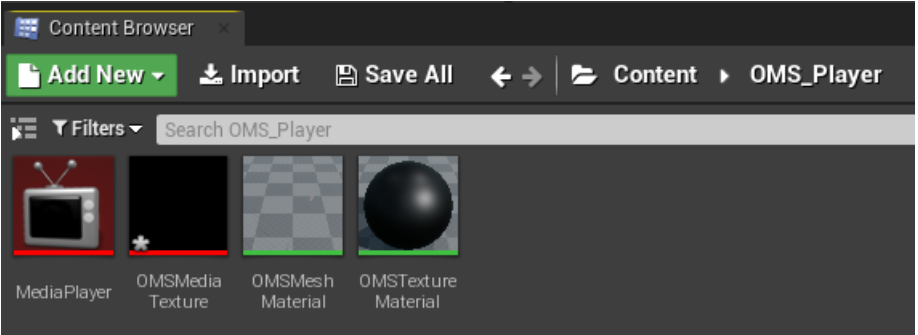
A configured OMS player will require the following objects:
An OMSMeshActor: This drives the core of the OMS playback. It reads your prepared Materials and Media Player, and serves as the OMS player in your project’s map.
An OMS Mesh Material: You will need to create a material that uses the ‘ArcturusOMS’ node for the material’s texture information and World Position Offset. This is used as the Mesh Material parameter in the OMSMeshActor and can be created by right clicking on your OMS file in the content browser.
An OMS Media Player Material: You will need to create a material that uses the ‘Texture Sample’ node to playback the information provided by the Media Player Asset in order to apply the textures to your OMS’s meshes.
A Media Player Asset: This asset takes the provided MP4 textures and allows for playback of the texture and mesh animation.
A Media Texture Asset: This asset provides the Media Player with the mp4 or texture sequence required to provide texture and OMS playback.
To begin to set up an OMS player, create the following:
A Media Player:
Double click on the object and ensure that ‘Play on Open’ and ‘Loop’ are enabled.
A Media Texture:
Double click on the object and set the Media Player to the new MediaPlayer object that you just created.
Two new Materials:
One of these is the Mesh Material, and the other the Media Player Material.
To create the Mesh material right click on the imported OMS file, select ‘Create Lit’ or ‘Create Unlit’ based on your project’s needs.
Create a new material to use as the OMS Media Player Material. This material must be edited in the Material Editor. Add a Texture Sample node. From the Texture Sample node:
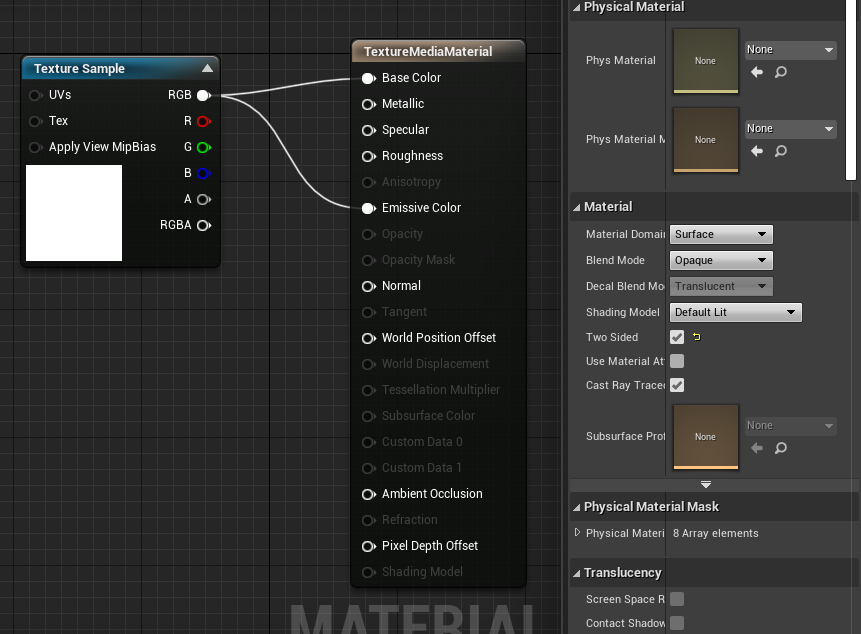
Connect the RGBA output into the Emissive input of the OMSTextureMaterial Result Node.
In the Texture Sample details, this node’s Texture should be set to the Media Texture you created at the start of the process.
In the “Place Actors Panel” Search for OMSMeshActor. Select and drag the OMS Mesh Actor into the Viewport.

This OMSMeshActor object is what you will configure to drive your OMS playback. It takes the assorted components required for texture and mesh playback and lets you determine the volumetric clip you intend to play.
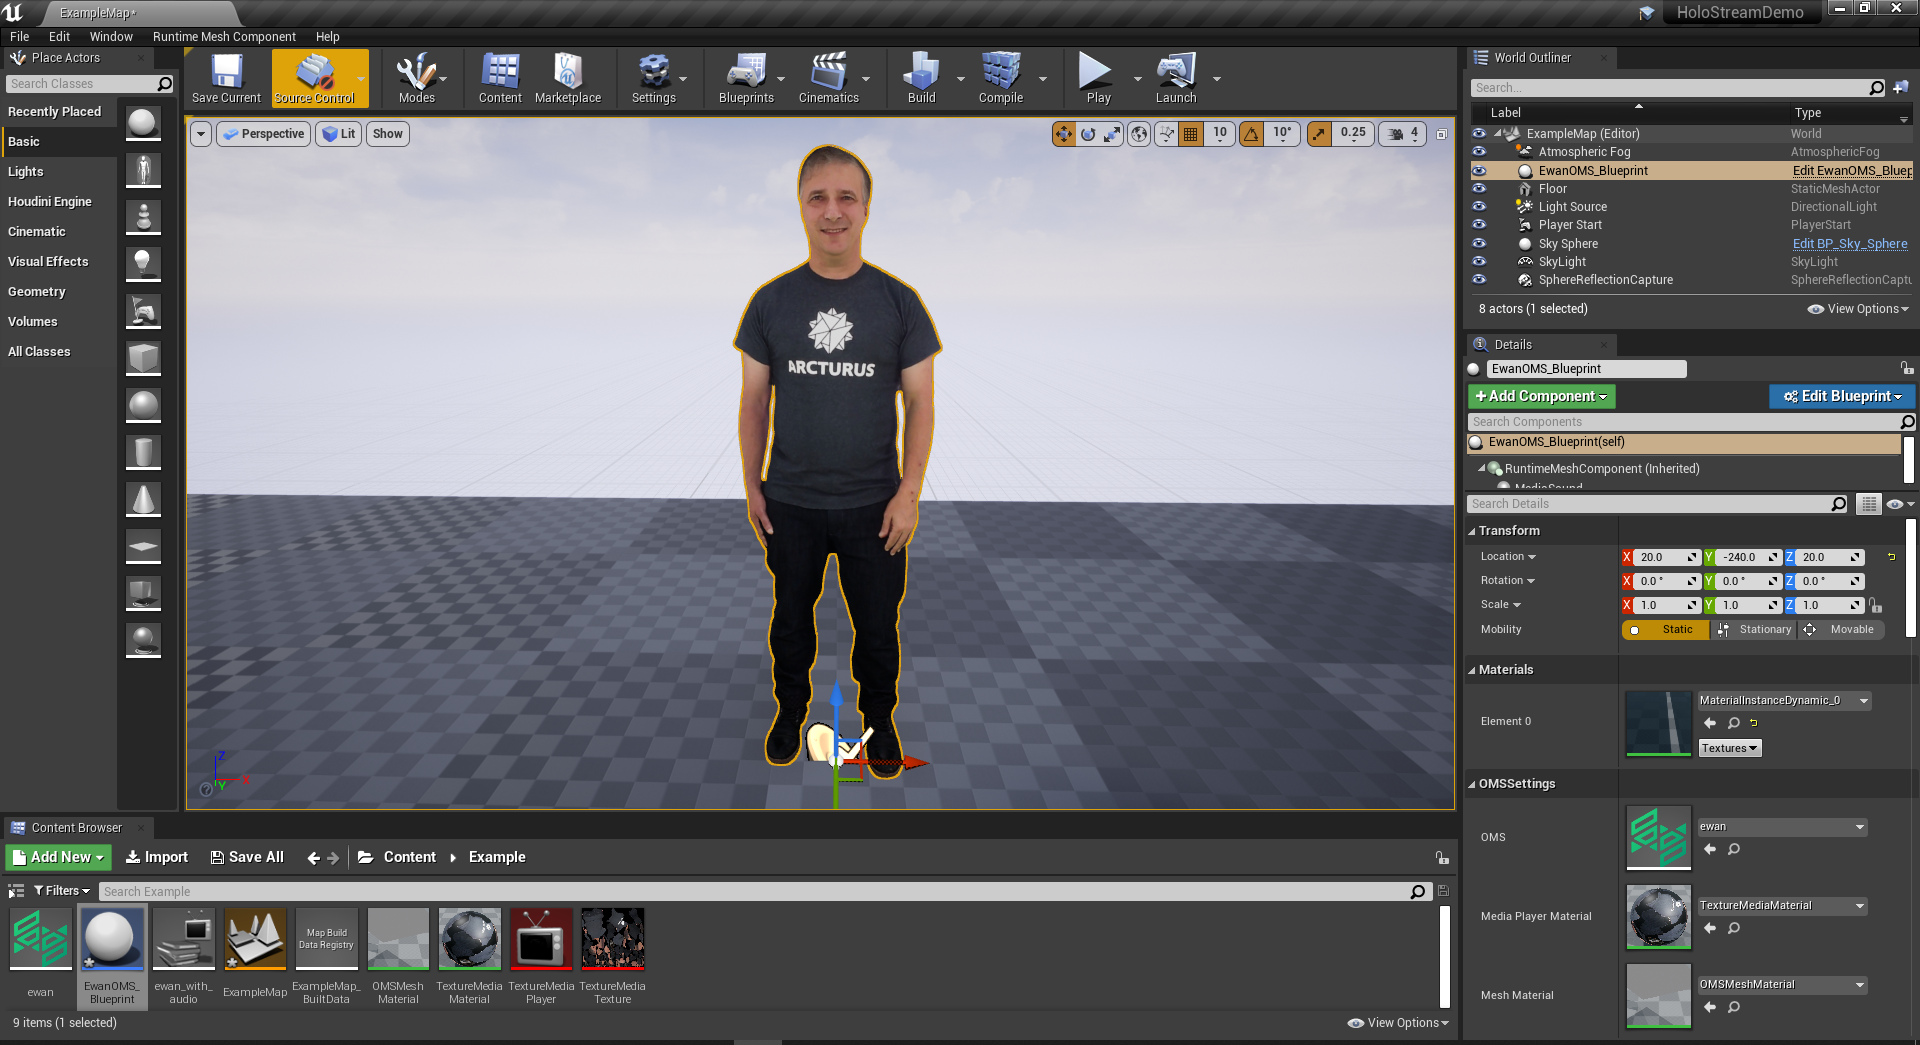
To configure your OMSMeshActor to play your OMS and texture source, you’ll need to start by selecting the OMSMeshActor in the world outliner. In the “OMS Settings” category in the “Details” tab, assign your OMS file to the “OMS” field.
Next apply the OMS Mesh Material, using the dropdown select the OMSMeshMaterial you created for Mesh playback. The Mesh Material’s nodes drive the OMS playback, along with any custom shading you need for your project.
Use the arrow at the bottom of the Playback Settings to expose the advanced settings.
Set the Media player option to the Media player to the Media Player that was manually created earlier.
Set the Media Player Material to the OMSTextureMaterial.
You can position your OMS Mesh Actor now that it’s visible in the viewport.
HoloSuite Player in the level editor:
Using Image Sequence Based Playback
Image Sequence Playback uses an Img Media Source object to specify the image sequence, and a Cine Camera Actor configured in the sequencer to play the imag sequence.
In an Unreal project with an OMSMeshActor and required assets prepared as detailed above add a folder containing your image sequence into the Movies folder. Do not your image sequence into Unreal
In the Movies directory, right click and create an Img Media Source from the Media Menu Option.
Double click the Img Media Source:
In the Details panel select the … icon to open up the file explorer
Navigate to the folder containing your image sequence and assign the first frame of your extracted textures to the Sequence Path field
Show the advanced settings and set the Frame Rate Override to your desired framerate.
Save the Changes made to the Img Media Source
Add a Level Sequence to your project. Using the Cinematics menu select “Add Level Sequence”
In the Place Actors panel, select the Cinematic tab. Drag the Cine Camera Actor into the Editor window. Position the Camera to frame your HoloSuite player.
From the World Outliner hierarchy drag that newly created Cine Camera Actor into the Sequence panel. In the Sequencer:
Set the Frame rate to match your Img Sequence Frame Rate Override
Adjust the length of the ‘Camera Cuts’ and ‘CineCameraActor’ layer generated in the Sequence panel.
From the Sequence panel, click the ‘+Track’ button and select ‘Media Track’.
Right click on the newly added media track and highlight the properties option. Ensure that the Section Start and End range values are set properly.
Select the bottommost white triangle to show the advanced options.
Enable ‘Use External Media Player’
Select the Media Player used in your HoloSuite Player implementation
After you’ve configured the sequencer, you can assign the Img Media Source object to your OMSMeshActor.
Open the OMSMeshActor Blueprint, in the Event Graph set the Open Source node’s Media Source to the Img Media Source.
The Sequencer timeline will now control the HoloSuite Player’s playback.