The Project View
The Project View, in the bottom right of the default HoloEdit layout, displays the Project hierarchy – HoloEdit’s display of the Clips, Compositions, and data ready for import within the Workspace. The Project View shows: Folders, Files, Clips, and Samples.
Adding Volumetric Data in HoloEdit
Data Streams and samples or folders containing streams or samples can be added to your Workspace by selecting and dragging the content into the project panel.
Warning
Be aware if dragging and dropping folders from other Workspaces, existing .meta and .clip files can cause import issues when added to a new Workspace. These file types should be removed before adding volumetric data to a new Workspace.
Make Clip

Some Folders can be converted into Clips. Folders containing Source Data that can be imported as a Clip (supported input formats such as .obj, .png, etc) will have a “Make Clip” button on the right side, which can be used to create a Clip.
Clips are similar to folders, but when selected will display the Clip information in the Inspector window. Individual files (or, samples) within Clip folders can be inspected in the same way.
See Creating a Clip for more details on creating and using Clips.
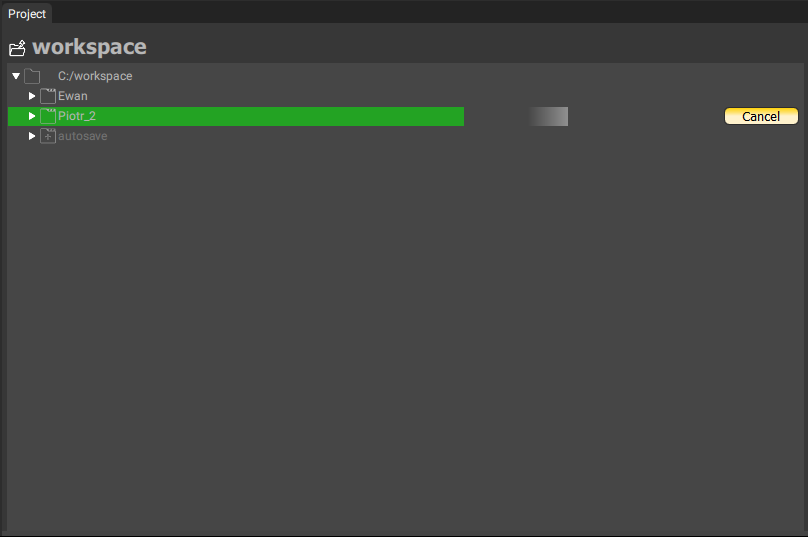
While an Import is in progress, the space in the Project panel containing the clip will gradually fill with a green bar to indicate the clip import progress.
Non-Clip Folders
The most common way to interact with Folders in a HoloEdit Project is by using them to create Clips. However, for more complicated projects, you may want a more complicated file tree.
Folders that don’t represent Clips will be greyed out in the project view, but can be navigated normally. This way, you can nest Clips within subdirectories by creating child folders and pressing the “Make Clip” button on those folders.